
Introduction to Ladybug Pretzels
If you're on the lookout for a fun and delightful treat that fits perfectly into the bustling lifestyle of young professionals, look no further than ladybug pretzels. These charming snacks are not just easy to make; they are also a hit at any gathering, from casual get-togethers to festive celebrations. Imagine bringing a platter of these adorable, crunchy bites to your next office potluck or springtime picnic—they're sure to spark joy and conversation!
These treats are a fantastic way to combine creativity with flavor without spending hours in the kitchen. Made with only a few simple ingredients, they offer a playful nod to springtime, making them ideal for baby showers, classroom celebrations, and dessert tables. Plus, these no-bake goodies can be prepared in just 25 minutes, giving you more time to focus on enjoying life's moments with friends and family.
For those seeking a little inspiration, check out this article on easy party treats that highlights other sweet snacks perfect for young professionals. With ladybug pretzels, you not only satisfy your sweet tooth but also let your artistic side shine—what's not to love?
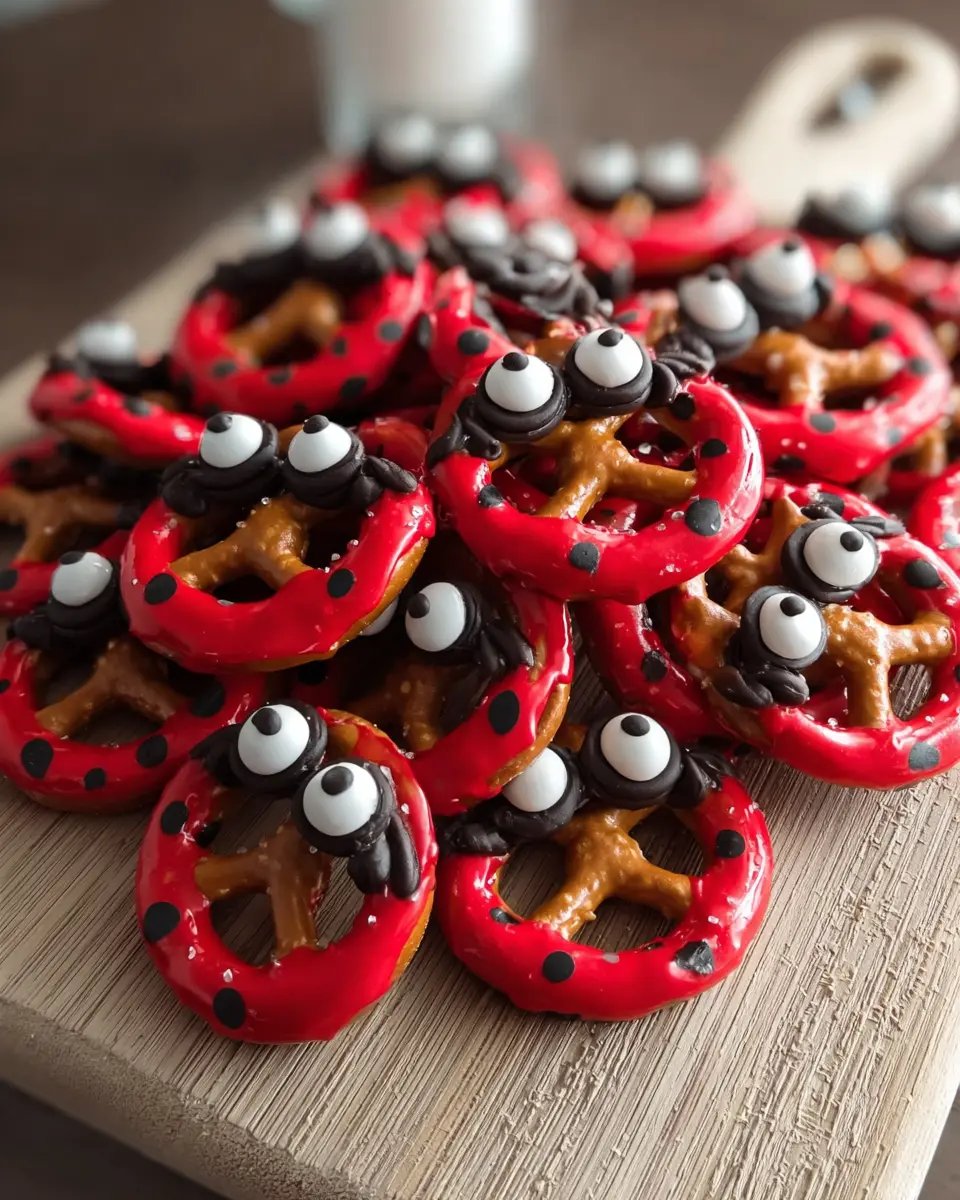
Essential Ingredients for Ladybug Pretzels
Creating adorable ladybug pretzels is a delightful project that combines simplicity with fun! Here’s a quick look at the essential ingredients you'll need to bring these cute treats to life:
- 50 mini pretzel twists: These provide the perfect crunchy base.
- 12 oz red candy melts: For that vibrant ladybug color; they add sweetness and shiny appeal.
- 2 oz black candy melts: Used for the charming ladybug details.
- 100 candy eyes: No ladybug is complete without these cute little eyes!
- 1 to 2 teaspoon black decorating gel or melted black candy coating: For adding those signature polka dots.
- 1 teaspoon vegetable oil or shortening: This optional addition helps achieve a smoother consistency in your melted candy.
Optional Ingredients for Customization
While the basics will get you started, consider these optional ingredients to personalize your ladybug pretzels even further:
- Different colors of candy melts: Use alternative colors for unique designs!
- Sprinkles or edible glitter: Add some sparkle to your ladybugs.
- Flavored extracts: A hint of vanilla or almond in the melted candy can elevate the taste.
Feel free to explore these variations! Get inspired and share your creations. For more inspiration, check out this fun candy melts guide for tips on using them creatively. Who knows, your twist on ladybug pretzels might just become the next party favorite!
Step-by-step preparation of Ladybug Pretzels
Creating adorable Ladybug Pretzels is a fun and easy way to add a touch of whimsy to your next gathering. Follow these steps to achieve the perfect bite-sized treats that everyone will love!
Preparing your workspace
Before diving into the fun, it's essential to set up your workspace. Clear a large area on your countertop and line a baking sheet or a cutting board with parchment paper. This creates a non-stick surface where those sweet and crunchy ladybug pretzels can set without sticking. Keeping everything organized and within reach will help make the process smoother and more enjoyable!
Melting the red candy
Start by melting the red candy melts, which are the star of your Ladybug Pretzels. In a microwave-safe bowl, put your red candy melts and heat them in 20-second intervals. Stir after each burst until the candy is silky smooth. If you find the consistency a bit thick, add a teaspoon of vegetable oil or shortening to thin it out—just don’t overdo it. A smooth coating makes for prettier pretzels!
Coating the pretzels
Once your red candy is melted, it’s time to coat the pretzels! Dip each mini pretzel twist into the melted candy. After coating, lift it out using a fork or a dipping tool, tapping off the excess to prevent the coating from being too thick. Lay them out on your prepared tray. A smooth, even layer will enhance the final appearance of your ladybug pretzels.
Melting the black candy
Now, let’s prepare the black candy, which will form the eyes and spots. In a separate microwave-safe bowl, place the black candy melts. Heat them similarly, in 15 to 20-second increments, stirring frequently until you reach a smooth consistency. Transfer the melted black candy into a piping bag or a zip-top bag with a small corner snipped off for precision.
Creating the ladybug faces
Using your piping bag, pipe a small, rounded black face on one end of each red-coated pretzel. Make sure the face shape is small and cute—that’s what sets the tone for your ladybug's charm! Keep your hand steady and go slow; it doesn’t have to be perfect overall.
Adding the eyes
While the black section is still soft, gently press two candy eyes onto each ladybug face. This step is one of the cutest, so don't rush! The soft candy will help the eyes stick without needing additional glue.
Decorating with spots
Next comes the fun part: giving your ladybugs personality! Use either black decorating gel or small dots of melted black candy to create little spots on each pretzel—this step is great for adding that finishing touch. Space the spots evenly for a polished, playful look.
Letting them set
Finally, allow your Ladybug Pretzels to set! Let them cool at room temperature until the coating hardens, or speed things up by placing them in the fridge for about 10 to 15 minutes. Once they're firm, you’re ready to display them on your platter or package them for gifts.
By paying attention to these detailed steps, you're setting the stage for a delightful treat that will be the talk of the party! Enjoy the process and have fun creating your ladybug pretzels!
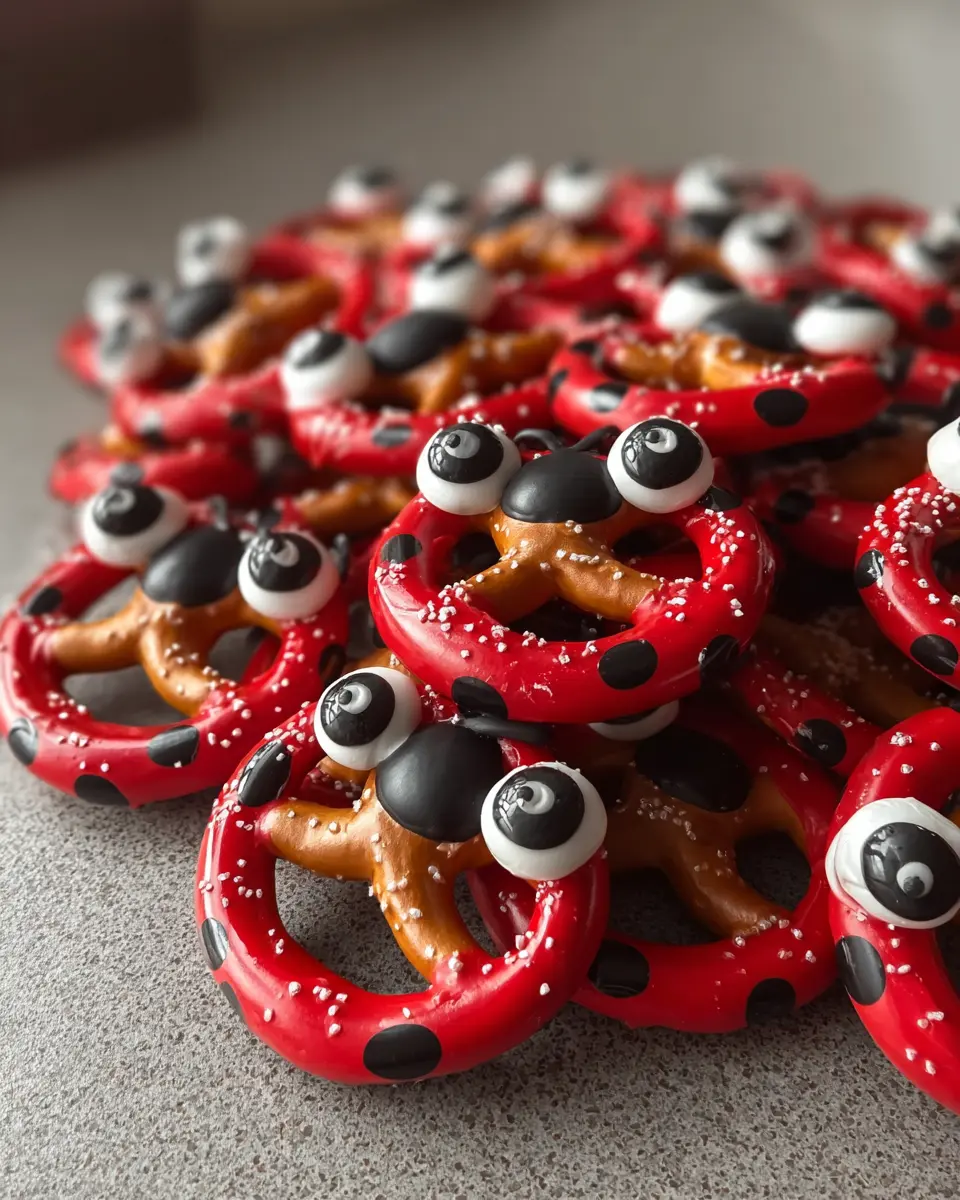
Variations on Ladybug Pretzels
Chocolate Ladybug Pretzels
For a delightful twist on the classic ladybug pretzels, try chocolate-covered versions! Simply substitute the red candy melts with milk or dark chocolate. This variation adds a rich flavor that chocolate lovers will adore. You can also drizzle some white chocolate on top for a stylish contrast. These enticing treats are not only cute but also satisfy the sweet tooth cravings of guests at your next gathering.
Healthier Versions with Dark Chocolate
If you’re looking for a healthier alternative, use dark chocolate instead of traditional candy melts. Dark chocolate is packed with antioxidants and offers a deeper flavor profile. Plus, it’s lower in sugar, making these ladybug pretzels a guilt-free indulgence. Pair them with nuts or dried fruits for added texture and nutrients. This version proves you can enjoy sweet treats while keeping health in mind! For more ideas, check out this healthy sweets post.
Cooking tips and notes for Ladybug Pretzels
Tips for Perfect Pretzel Coating
To achieve a delightful finish on your ladybug pretzels, keep these tips in mind:
- Consistent Coating: Ensure each pretzel is fully submerged in the red candy melts. Tap off any excess gently to avoid drips.
- Temperature Control: Work in a cool kitchen if possible. Warm environments can cause your candy coating to soften too much.
- Smooth Finish: If the candy thickens, don’t hesitate to reheat briefly, stirring until smooth again.
Storage Advice for Ladybug Pretzels
- Keep Them Fresh: Store your ladybug pretzels in an airtight container at room temperature. This will maintain their crunch.
- Avoid Humidity: Make sure to keep them in a dry place to prevent the coatings from melting or becoming sticky.
For more on storage tips, check out this resource on Storing Candy Treats.
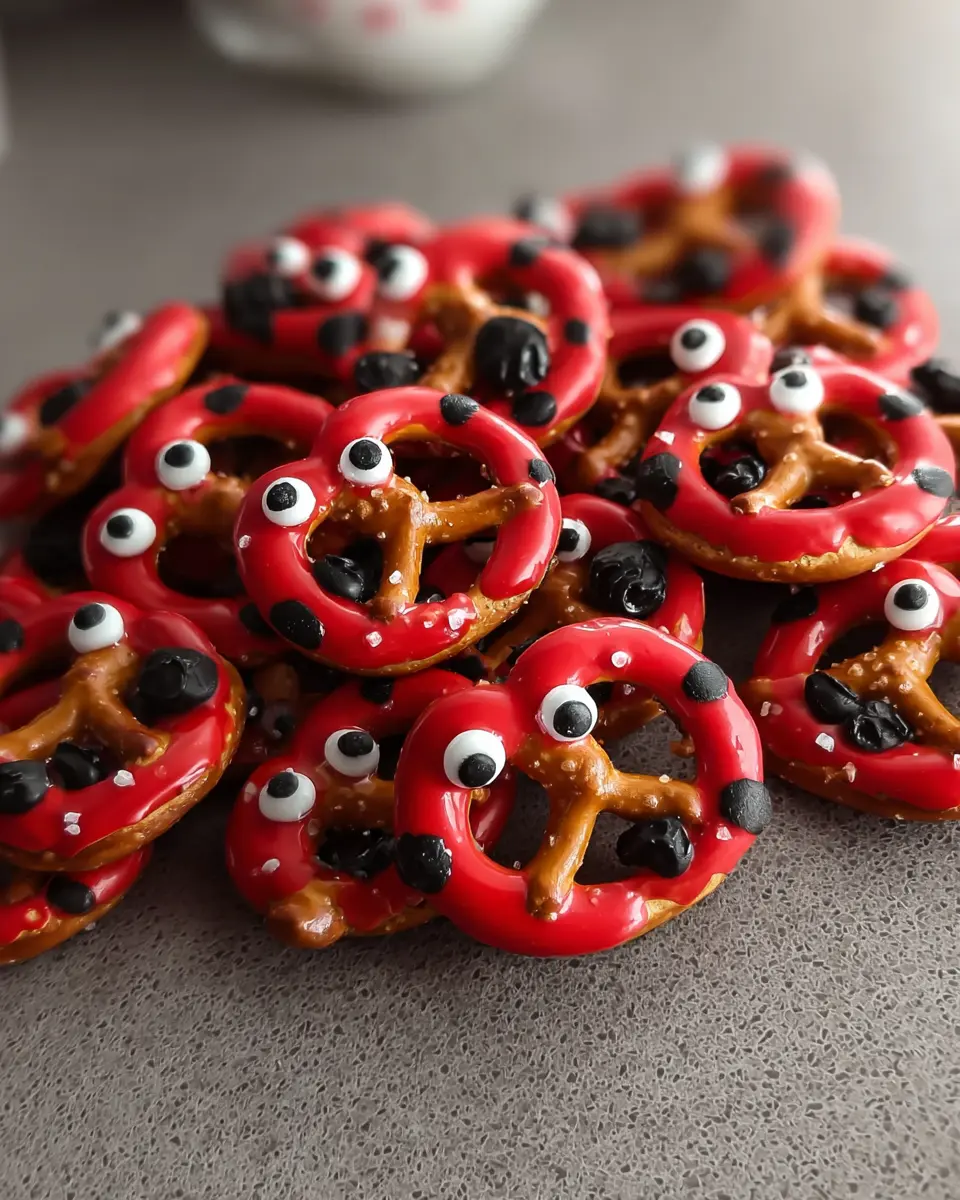
Serving suggestions for Ladybug Pretzels
Creative Ways to Present Ladybug Pretzels
When it comes to displaying your ladybug pretzels, think playful and colorful! Use a bright, whimsical platter or even a garden-themed tablecloth to set the scene. Consider placing the pretzels in small terracotta pots filled with edible grass or shredded coconut to mimic a garden feel. You could also create cute little labels, inviting guests to explore the “ladybug garden”!
Ideal Events for Serving Ladybug Pretzels
Ladybug pretzels are incredibly versatile and perfect for various occasions. Here are a few ideas to get you started:
- Spring Parties: Celebrate the season with a vibrant snack that matches your theme.
- Baby Showers: Use them as a fun treat at pastel-colored dessert tables.
- Classroom Snacks: Easy to share and fun to eat, they’re a hit with kids!
- Outdoor Gatherings: These no-bake delights are a great addition to picnics and barbecues.
For more fun presentation ideas, check out this party planning guide. It’s full of creative touches you can add!
Time Breakdown for Ladybug Pretzels
Preparation Time
Getting started on your ladybug pretzels will take about 15 minutes. This includes melting the candy melts and dipping the pretzels. It's a fun process, perfect for gathering friends or family around the kitchen!
Total Time
In total, the project will take approximately 25 minutes, from prep to setup. Once you’re done, you’ll have 50 adorable pretzels to share! The perfect treat for events or casual get-togethers. Check out more tips on making quick bites over at The Spruce Eats for inspiration!
These ladybug pretzels aren't just a treat—they're a delightful memory in the making!
Nutritional Facts for Ladybug Pretzels
Calories
Indulging in ladybug pretzels is a charming way to satisfy your sweet tooth! Each delectable pretzel contains approximately 70 calories, making them a delightful treat for parties without the guilt.
Nutritional Breakdown per Pretzel
Each mini ladybug pretzel features:
- Fat: 3g
- Carbohydrates: 10g
- Sugars: 8g
- Protein: 1g
These adorable snacks bring together fun and flavor, providing just the right touch of sweetness for your gatherings. To enhance the healthiness of your snack table, consider pairing these with fruit or nuts as a balanced option! Want to learn more about candy coatings? Check out this source for insights.
FAQs about Ladybug Pretzels
Can I use different types of candy melts?
Absolutely! While the classic presentation of ladybug pretzels calls for red and black candy melts, feel free to experiment with other colors like white or blue for a fun twist. Just ensure that the candy melts you choose are suitable for your melty decorating needs. For tips on how to melt candy effectively, check out this comprehensive guide.
How long do ladybug pretzels last?
When stored properly in a cool, dry place, ladybug pretzels can last up to two weeks. Just be sure to keep them in an airtight container to maintain their crispness and prevent moisture from ruining that delightful candy shell.
Are ladybug pretzels suitable for dietary restrictions?
Ladybug pretzels are vegetarian-friendly, but if you're catering to specific dietary needs, consider checking the labels on the candy melts for any allergens. There are vegan-friendly candy melts available for those avoiding animal products, making this treat accessible to a wider audience. For more information on accommodating various dietary restrictions, visit this helpful resource.
Conclusion on Ladybug Pretzels
In summary, ladybug pretzels are not just adorable; they're a delightful treat perfect for any occasion. Their crunchy texture and sweet flavor make them a crowd favorite at parties. With simple ingredients and an easy process, these cheerful snacks will surely bring smiles to your next gathering. Try them out!
Ladybug Pretzels: 9 Cute Steps for a Sweet Party Treat
Equipment
- microwave-safe bowl
- baking sheet
- piping bag or zip-top bag
Ingredients
Pretzels and Coatings
- 50 pieces mini pretzel twists
- 12 oz red candy melts
- 2 oz black candy melts
- 100 pieces candy eyes
- 1 to 2 teaspoon black decorating gel or melted black candy coating for dots
- 1 teaspoon vegetable oil or shortening if needed for thinning
Instructions
Preparation
- Line a large baking sheet, tray, or cutting board with parchment paper or wax paper.
- Keep the lined tray close to your work area so the coated pretzels can set neatly.
Melting & Coating
- Place the red candy melts in a microwave-safe bowl.
- Microwave in 20-second intervals, stirring after each round, until smooth.
- Add a small amount of vegetable oil or shortening only if the coating feels too thick.
- Dip each mini pretzel twist into the melted red coating.
- Lift it out with a fork or dipping tool and tap off the extra coating.
- Place each coated pretzel on the lined tray.
Finishing Touches
- Place the black candy melts in a small microwave-safe bowl.
- Heat in 15 to 20-second bursts, stirring in between, until smooth.
- Transfer the melted black coating to a piping bag or zip-top bag with a tiny corner snipped off.
- Pipe a curved black face shape along one edge of each red-coated pretzel.
- Keep the shape small and rounded for a clean finish.
- While the black candy is still soft, place two candy eyes onto each face.
- Press lightly so they stay in place.
- Use black decorating gel or dots of melted black candy to create little spots on each pretzel.
- Keep the dots small and evenly spaced.
- Leave the pretzels at room temperature until the coating is firm.
- Or chill them for 10 to 15 minutes to speed things up.
Serving
- Arrange the finished pretzels on a platter.
- Or place them in treat bags or boxes for gifting and party favors.
Leave a Reply