
Introduction to Japanese Katsu Bowls
Why homemade Japanese Katsu Bowls are a game changer
If you've ever experienced the crispy, juicy delight of a katsu dish, you know just how incredibly satisfying it can be. But nothing quite compares to making your own Japanese katsu bowls at home! When you whip up this dish, you're not only able to customize the flavors and ingredients to your liking, but you also enjoy the freshest taste possible.
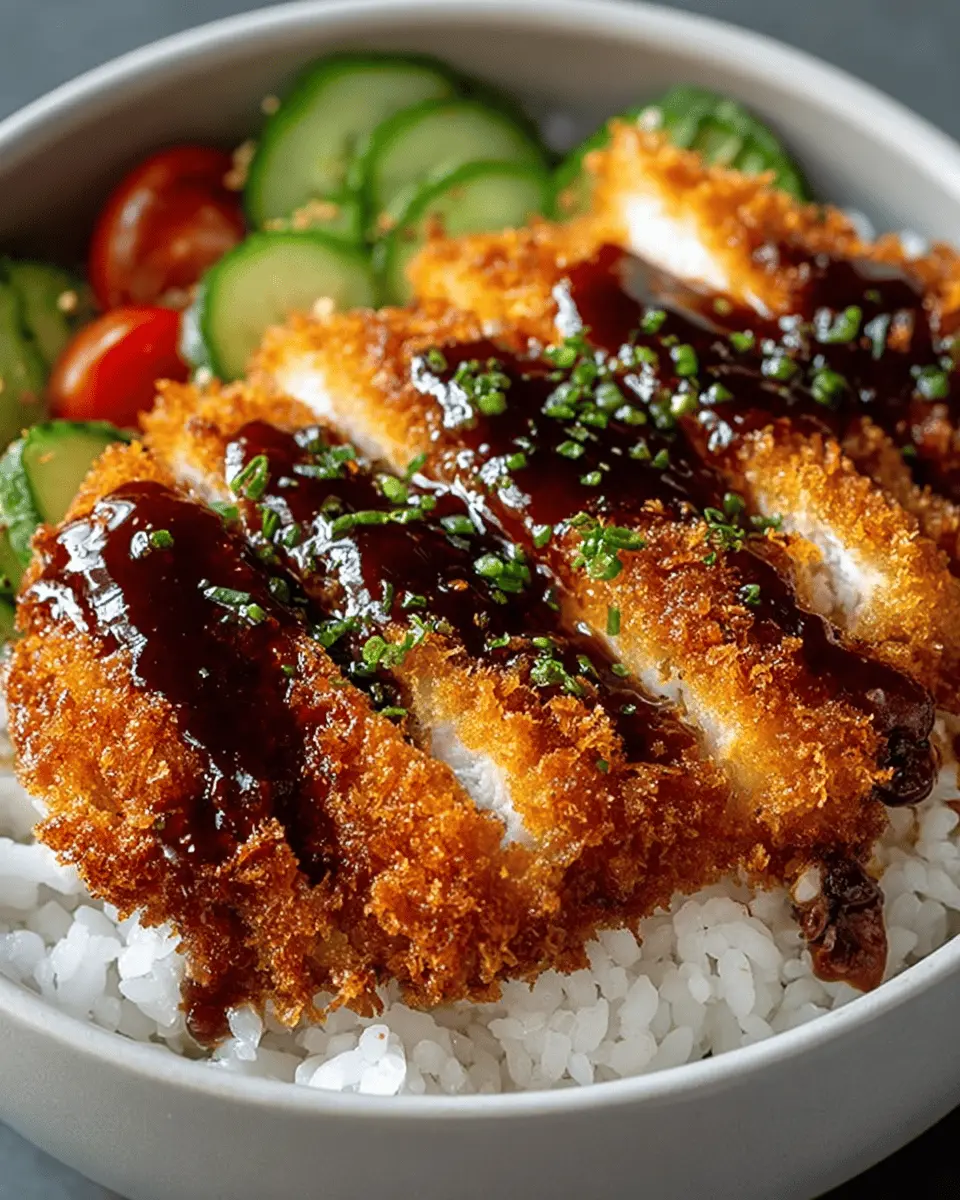
Making katsu at home embodies the principle of Japanese comfort food. A perfect katsu bowl features golden-fried, panko-crusted chicken or beef served atop fluffy white rice, all drizzled with the sweet and tangy richness of tonkatsu sauce. The excitement of taking that first bite—combining all flavors and textures—is an experience that dining out just can't replicate.
In addition, cooking katsu at home can be a relaxing and rewarding culinary adventure. You can turn an average weeknight dinner into something special, and share the warm embrace of Japanese cuisine with friends and family. If you prefer a more substantial meal, feel free to explore variations like adding seasonal vegetables or even fried eggs.
So, are you ready to dive into this delicious world? Let's get cooking!
Ingredients for Japanese Katsu Bowls
Creating delightful Japanese katsu bowls at home is easier than you might think! Let’s break down the essential components you'll need to make this delicious meal.
Essential ingredients for the katsu
- Boneless, skinless chicken breasts: The star of the dish! You can also substitute with beef if you prefer.
- All-purpose flour: For dredging, giving that perfect base for adhesion.
- Eggs: Two large eggs, beaten, act as a binder between the chicken and the breadcrumbs.
- Panko breadcrumbs: This Japanese-style breadcrumb is what gives katsu its signature crunch.
- Salt and black pepper: Essential seasonings for flavoring.
- Garlic powder: A pinch adds an extra layer of taste to your katsu.
- Vegetable oil: For frying—choose a neutral oil with a high smoke point.
Optional ingredients for added flavor
To elevate your Japanese katsu bowls, consider adding:
- Japanese mayo: This creamy condiment is perfect for drizzling on top.
- Chopped parsley or green onions: A fresh garnish that adds great color and flavor.
- Vegetables: You might include pickled daikon, sliced cucumbers, or steamed broccoli for balance and extra nutrition.
Ready to dive deeper into this tasty recipe? Check out our guide to making homemade tonkatsu sauce here. Enjoy whipping up your own Japanese katsu bowls!
Step-by-step Preparation of Japanese Katsu Bowls
Making delicious Japanese katsu bowls at home can seem daunting, but with a little patience and some kitchen magic, you’ll have a meal that dazzles in flavor and presentation. Let’s dive right into the steps!
Preparing the Chicken
Start by choosing your protein; boneless, skinless chicken breasts work beautifully for this dish. To ensure even cooking, take a meat mallet and pound the chicken until it's about ½ inch thick. This process not only tenderizes the meat but also helps it fry evenly, creating that mouthwatering crispiness we all love. Next, season both sides with salt, pepper, and a hint of garlic powder to enhance the flavor. Trust me, this seasoning step is crucial and can elevate your dish to restaurant levels!
Setting up the Dredging Station
Creating a dredging station is key to achieving that classic, crunchy texture that Japanese katsu bowls are known for. Set out three bowls in a nice line:
- Bowl 1: Place 1 cup of all-purpose flour.
- Bowl 2: Add 2 large beaten eggs.
- Bowl 3: Fill with 2 cups of panko breadcrumbs — this is what will give your katsu that irresistible crunch!
Coat each chicken piece in flour, dip it into the egg, and then press it into the panko, making sure to cover every inch. This three-step process ensures a perfect crust that locks in all the juiciness.
Frying the Katsu to Perfection
Once your katsu is breaded, it’s time for frying! Heat about ½ cup of vegetable oil in a shallow frying pan over medium heat — this way, your katsu can fry to golden perfection without too much fuss. Carefully place each piece into the hot oil, frying for about 3-4 minutes on each side. You’ll know they’re ready when they turn a beautiful golden brown and reach an internal temperature of 165°F. After frying, let them rest on a wire rack to drain excess oil.
Assembling the Bowls
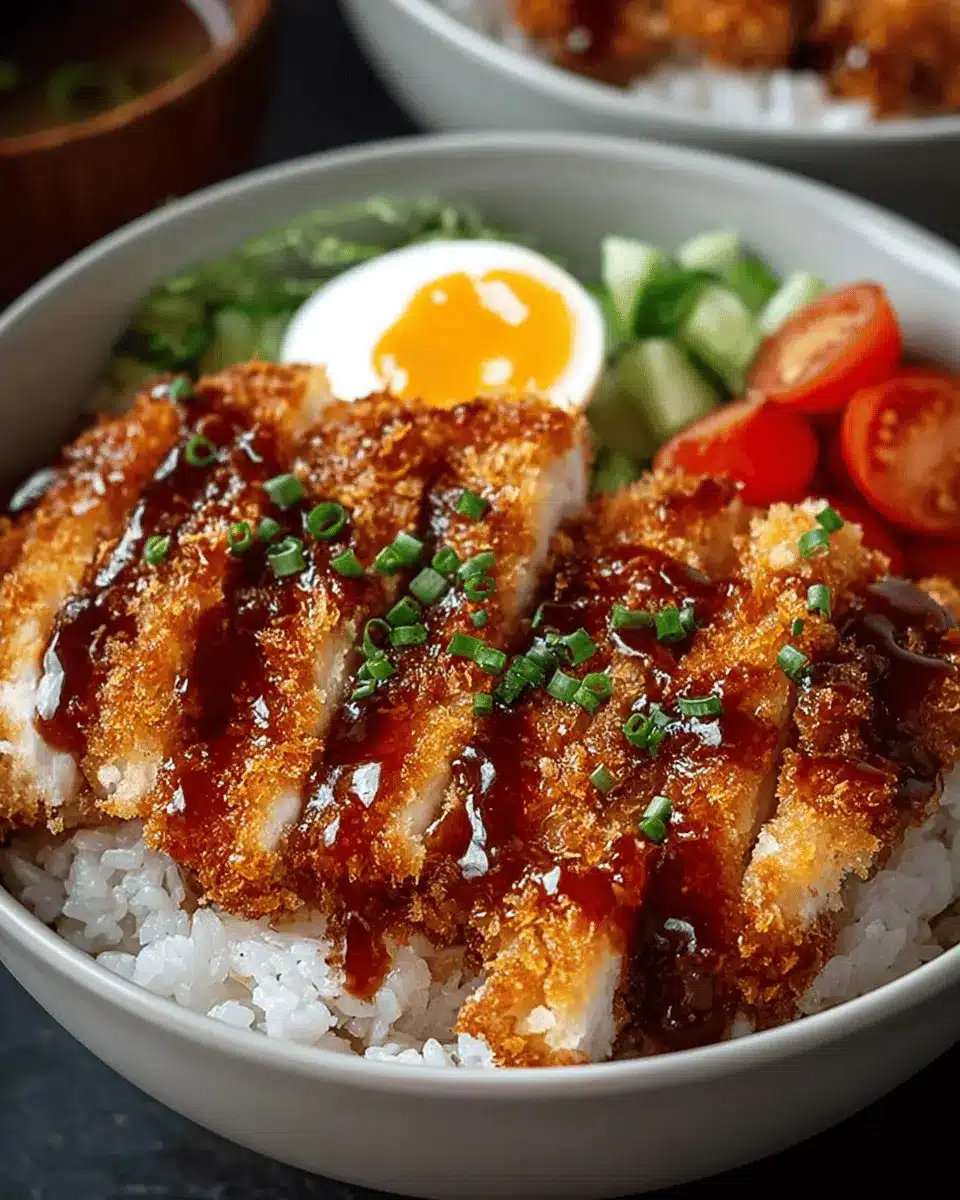
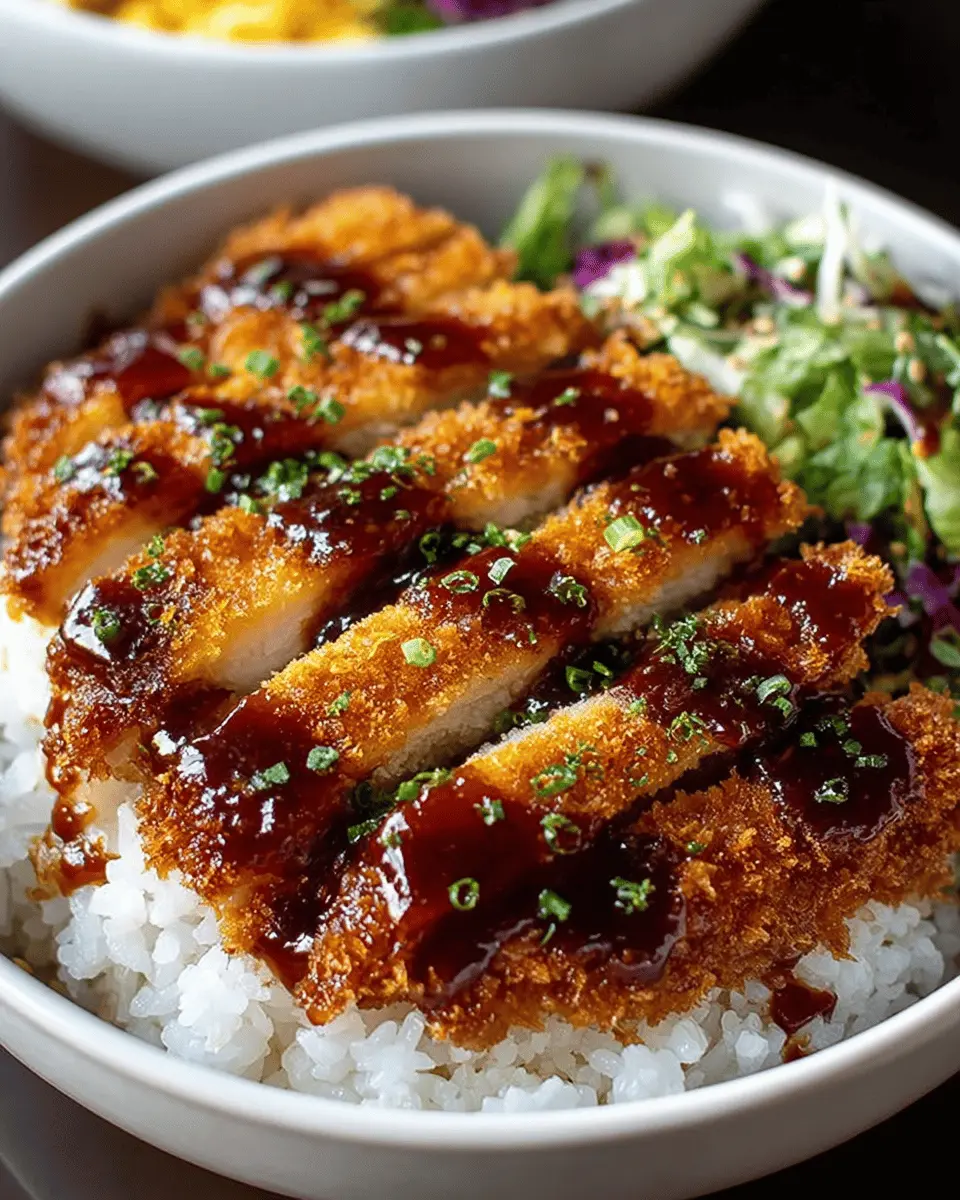
Now comes the most satisfying part — assembling your Japanese katsu bowls! Start by dividing 2 cups of fluffy, cooked white rice among your serving bowls. Slice the katsu into strips and lay it generously on top of the rice. For that final touch, drizzle with ¼ cup of tonkatsu sauce, and if you're feeling a bit indulgent, add a swirl of Japanese mayo! Finish it off with a sprinkle of chopped parsley or green onions for a pop of color.
Serving and Enjoying Your Katsu Bowls
Time to dig in! Serve these delightful bowls immediately while they’re hot and crispy, and enjoy each bite. The contrasting textures of the crunchy katsu and soft rice, combined with the tangy sauce, is nothing short of heavenly.
Why not share a bowl with a friend or keep the extra in the fridge for a satisfying meal later in the week? Your taste buds will thank you!
For more information on Japanese cooking techniques, check out Just One Cookbook – a fantastic resource for mastering essential dishes!
Variations on Japanese Katsu Bowls
Vegetarian Katsu Options
If you’re looking to switch things up, why not explore vegetarian katsu bowls? Tofu is a great substitute; simply press and marinate it before coating it in panko breadcrumbs. Alternatively, eggplant or zucchini slices can be breaded and fried for a deliciously crispy texture. Both options provide a satisfying crunch and allow everyone to enjoy the hearty flavors of katsu without the meat.
Unique Sauces and Toppings to Try
While traditional tonkatsu sauce is fantastic, experimenting with different sauces can elevate your Japanese katsu bowls to a whole new level! How about trying a drizzle of miso caramel for a sweet-savory experience, or a spicy sriracha mayo for those who enjoy a kick? Toppings like pickled ginger, kimchi, or even a fried egg can add extra layers of flavor and texture. Get creative—your katsu bowl can be as unique as your taste buds! For some inspiration, check out this guide to Japanese sauces that will perfectly complement your dish.
Cooking Tips and Notes for Japanese Katsu Bowls
Tips for achieving the perfect crispiness
To ensure your Japanese katsu bowls boast the ultimate crispiness, start with panko breadcrumbs, which are lighter and airier than regular breadcrumbs. Use fresh panko and press it firmly onto the chicken after breading. This helps create that luxurious, crunchy texture we all crave. Another trick? Let your breaded chicken rest for a few minutes before frying; this allows the coating to adhere better!
Notes on frying techniques and oil temperature
Maintaining the right oil temperature is essential for perfectly cooked katsu. Aim for around 350°F (175°C)—too hot and your katsu will burn; too cool and it will absorb excess oil, resulting in greasiness. For optimal frying, use a thermometer, or test by dropping in a few breadcrumbs; they should sizzle immediately. Fry in small batches to avoid cooling the oil too quickly, ensuring each piece cooks evenly. For more frying tips, check out Serious Eats.
Serving Suggestions for Japanese Katsu Bowls
Best Side Dishes to Complement Your Katsu
To elevate your Japanese katsu bowls, consider classic sides that harmonize beautifully with the dish. Popular choices include:
- Miso soup: A warm, savory starter that creates a comforting meal experience.
- Pickled vegetables: Their tanginess adds an exciting contrast to the crispy katsu.
- Steamed edamame: A light and nutritious palate cleanser.
Ideal Pairings for a Complete Meal Experience
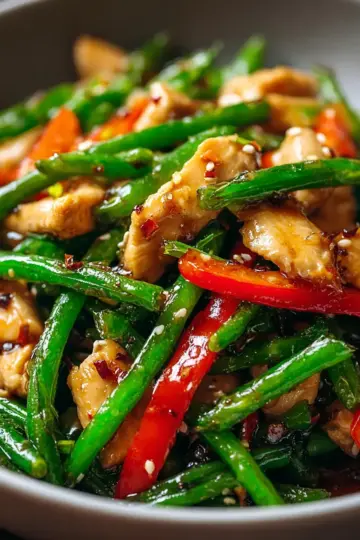
For a well-rounded meal, pair your katsu with refreshing beverages and additional textures. A chilled green tea not only enhances the flavors but is also a traditional match. For a broader culinary journey, consider a side of Japanese salad, featuring shredded cabbage and a light sesame dressing, which provides a crunch and brightness that cuts through the richness of the katsu.
Embrace these suggestions to enjoy your katsu bowls to their fullest potential!
Time Breakdown for Japanese Katsu Bowls
Planning is key to a smooth cooking experience! Here’s a quick breakdown of the time you'll need to put together these delicious Japanese katsu bowls:
Preparation Time: 10 minutes
Get everything ready, from pounding the chicken to setting up your dredging station. It’s all about having your ingredients prepped!
Cooking Time: 10 minutes
That’s right—just a quick fry to get that perfect golden crust on your chicken or beef.
Total Time: 25 minutes
In just under half an hour, you'll have a delightful meal ready to serve!
Feeling inspired? Check out more tips on meal prepping from experts like The Kitchn. Happy cooking!
Nutritional Facts for Japanese Katsu Bowls
Calories
A typical serving of Japanese katsu bowls contains around 600-700 calories. This makes it a hearty meal, ideal for refueling after a long day. It's a delightful indulgence, so enjoy it in moderation!
Protein
Packed with deliciously crispy chicken, each bowl delivers about 30-35 grams of protein. This not only helps in muscle repair but also keeps you feeling full longer.
Sodium
Caution on the sodium front—these bowls contain approximately 800-1000 mg of sodium, largely due to the tonkatsu sauce. If you're watching your salt intake, consider using a low-sodium version or making your sauce at home for a healthier twist.
Understanding the nutritional value of Japanese katsu bowls allows you to enjoy this flavorful meal while keeping your dietary goals in check. For more detailed insights on healthy eating, check out resources from the Harvard Health Blog.
FAQs about Japanese Katsu Bowls
Can I make katsu bowls healthier?
Absolutely! You can lighten up your Japanese katsu bowls by using baking instead of frying. Simply coat the chicken with panko breadcrumbs and bake it at 400°F for 20-25 minutes, flipping halfway through for an evenly crisp texture. You can also swap out white rice for brown rice or quinoa for added fiber and nutrients. Adding a variety of veggies like steamed broccoli or carrots can boost the health factor while enhancing the flavor.
What can I use instead of panko breadcrumbs?
If you can’t find panko, don’t worry! You can use regular breadcrumbs, crushed cornflakes, or even ground almonds for a gluten-free option. All these alternatives will give you a unique twist on your katsu bowls while still achieving that satisfying crunch.
How can I store leftovers?
To store any leftovers, let your katsu bowls cool completely, then transfer them to an airtight container. Keep the chicken and rice separate to maintain texture. Refrigerate for up to 3 days. Reheat in the oven or microwave, and enjoy a delicious meal without the fuss! For more tips, check out this article on food storage to keep your meals fresh longer.
Conclusion on Japanese Katsu Bowls
Japanese katsu bowls are a delightful fusion of textures and flavors, perfect for any meal. With crispy, golden katsu atop fluffy rice, you’ll satisfy your cravings with this easy recipe. Create a comforting dish that showcases the rich culinary traditions of Japan and impress your friends and family!

Japanese Katsu Bowls with Tonkatsu Sauce
Equipment
- Shallow frying pan
- Meat mallet
- wire rack
Ingredients
Protein
- 2 pcs boneless, skinless chicken breasts (or pork chops)
Breading
- 1 cup all-purpose flour
- 2 large eggs, beaten
- 2 cups panko breadcrumbs
- 1 teaspoon salt
- 0.5 teaspoon black pepper
- 0.5 teaspoon garlic powder
Frying
- 0.5 cup vegetable oil for frying
Serving
- 2 cups cooked white rice
- 0.25 cup tonkatsu sauce store-bought or homemade
- 2 tablespoon Japanese mayo optional
- Chopped parsley or green onions for garnish
Instructions
Preparation
- Prepare the Chicken: Pound the chicken breasts to an even thickness (about ½ inch). Season both sides with salt, pepper, and garlic powder.
- Coat the Chicken: Set up a dredging station with three bowls: one with flour, one with beaten eggs, and one with panko breadcrumbs. Coat each chicken piece in flour, dip into the egg, and then press into panko to fully coat.
- Fry to Perfection: Heat oil in a pan over medium heat. Once hot, fry each piece for 3-4 minutes per side until golden brown and cooked through. Drain on a wire rack.
- Assemble the Bowls: Divide the rice between bowls, slice the katsu, and place it on top. Drizzle with tonkatsu sauce and Japanese mayo. Garnish with chopped parsley or green onions.
- Serve & Enjoy: Dig in while it’s hot and crispy!
Leave a Reply