
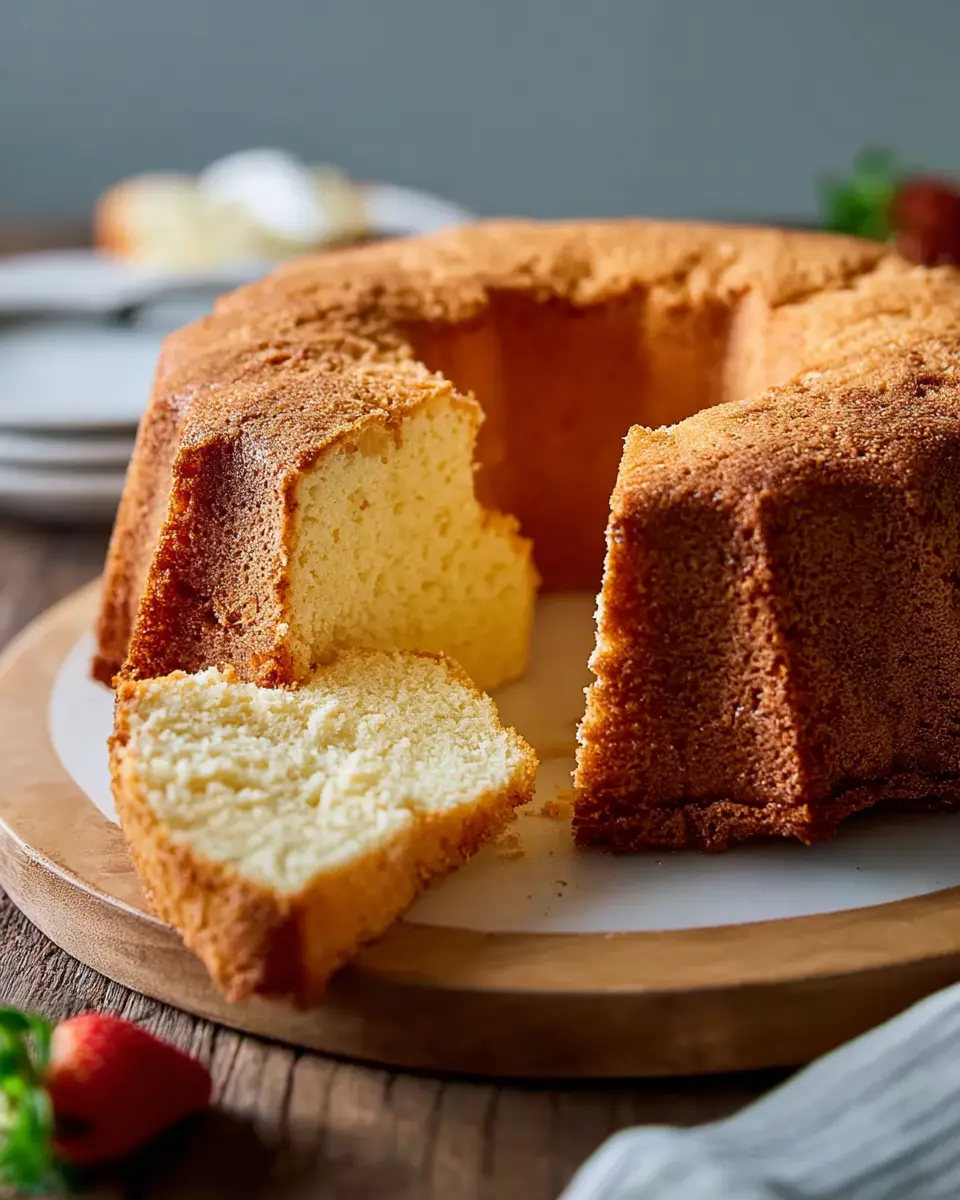
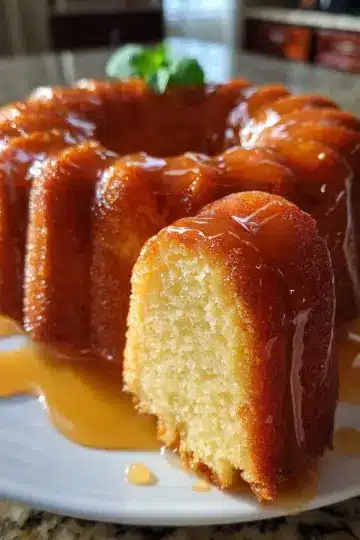
Introduction to Easy Cream Cheese Pound Cake
Imagine the comforting aroma of a freshly baked cake wafting through your kitchen. This easy cream cheese pound cake brings that delightful experience right to your home! But what makes this cake a go-to dessert for any occasion?
Why is cream cheese pound cake a go-to dessert?
First and foremost, the texture is unmatched! Cream cheese not only adds moisture but also gives the cake a rich density that melts in your mouth. Unlike traditional pound cakes that can be overly dry, this version strikes the perfect balance, making it an ideal companion for a cup of coffee or tea.
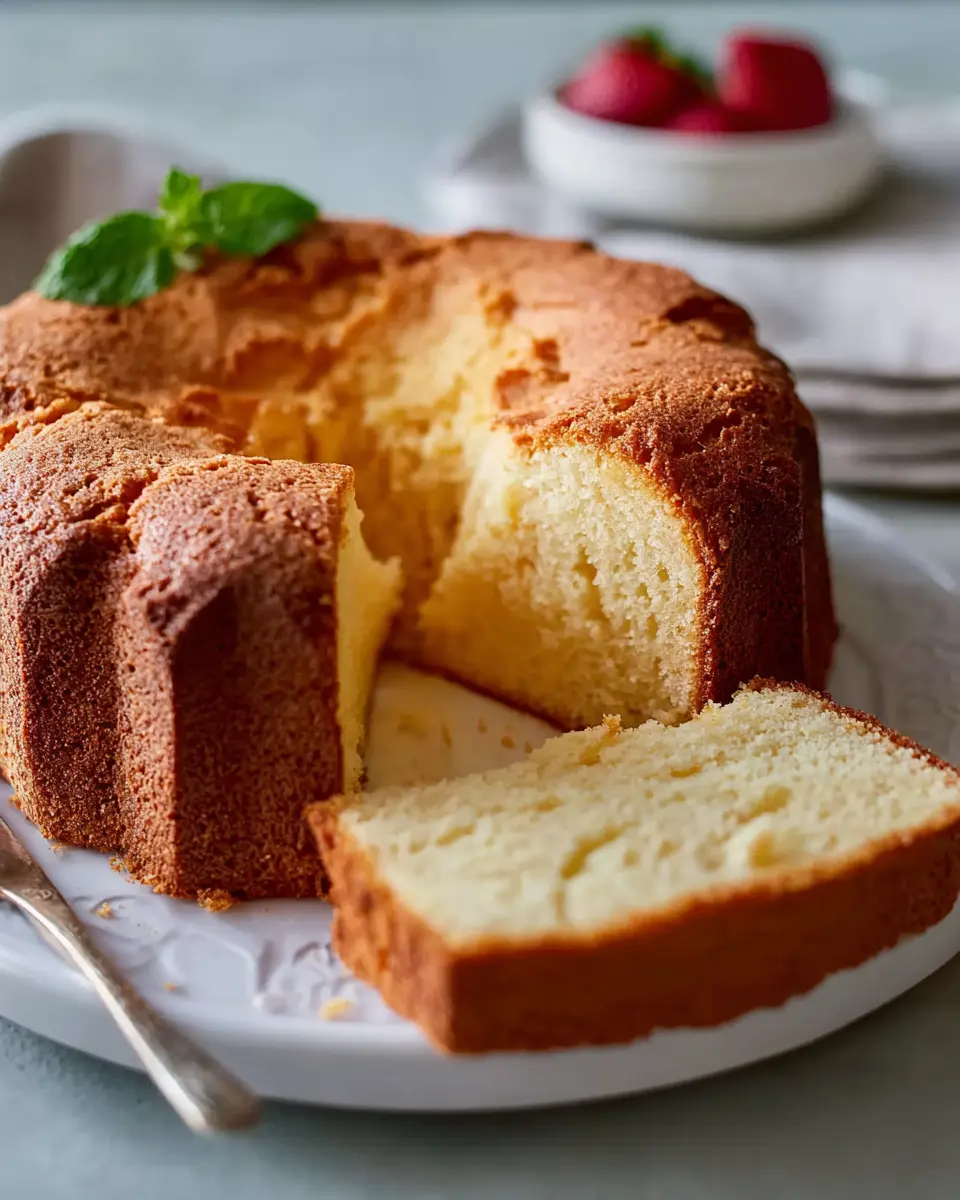
Additionally, it’s versatile. Whether you enjoy it plain, dusted with powdered sugar, or topped with fresh berries, the flavor profile is simply delightful. It can easily adapt to your taste preferences or the season, thanks to its adaptable nature.
Furthermore, if you’re looking to impress friends at a gathering or want a comforting dessert for a quiet night in, this cake fits the bill. According to Kate’s Baking Bible, pound cakes have stood the test of time, making them a beloved classic among bakers and dessert lovers alike.
So, are you ready to whip up your own easy cream cheese pound cake? Let’s dive into the simple steps!
Ingredients for Easy Cream Cheese Pound Cake
When it comes to baking an easy cream cheese pound cake, having the right ingredients at hand can make all the difference. Below, we’ll break down the key components you’ll need to create this delicious dessert.
Key ingredients you need
- Butter: 1 ½ cups of unsalted butter provide a rich flavor.
- Cream Cheese: Use a full 8-ounce package for that delightful creaminess.
- Sugar: 3 cups of white sugar ensure the perfect sweetness.
- Eggs: You’ll need 6 large eggs, which help with the cake's structure and moisture.
- Flour: 3 cups of all-purpose flour create a tender crumb.
- Vanilla Extract: Don’t skip the 1 teaspoon; it adds a lovely aroma.
Substitutions and notes
If you're short on certain ingredients, here are some easy substitutions:
- Butter: You can use margarine in a pinch, but butter enhances flavor.
- Cream Cheese: Neufchâtel cheese works well for a lighter option.
- Sugar: Swap for brown sugar for a different depth of flavor.
- Eggs: Flax or chia seeds can substitute for eggs if you're going vegan.
Before baking, don’t forget to check out expert tips on baking fundamentals to ensure your cake turns out as delightful as expected!
Preparing Easy Cream Cheese Pound Cake
Baking can be an incredibly rewarding experience, and there's nothing quite like the aroma of a freshly baked pound cake wafting through your kitchen. If you’ve never tried making an easy cream cheese pound cake, now is the perfect time! With its moist texture and rich flavor, you’ll soon be the star of your next gathering. Let’s get started!
Gather Your Ingredients
Before you dive into baking, it’s essential to gather all your ingredients. For this easy cream cheese pound cake, you will need:
- 1 ½ cups butter, softened
- 1 (8 ounce) package of cream cheese, also softened
- 3 cups white sugar
- 6 large eggs
- 3 cups all-purpose flour
- 1 teaspoon vanilla extract
Having everything at your fingertips not only streamlines your process but also ensures that you won’t find yourself scrambling for missing items mid-recipe.
Preheat the Oven
Now that you're all set up, it's time to preheat the oven. Set it to 325 degrees F (165 degrees C) and while you're at it, grease and flour a 10-inch tube pan. This step is crucial for ensuring your cake comes out of the pan easily without sticking.
Mix the Cream Cheese and Butter
In a mixing bowl, start by creaming together the softened butter and cream cheese until the mixture is smooth. This step is incredibly satisfying, as you're building the cake's rich base. Once that’s achieved, gradually add the sugar, beating until the mixture feels light and fluffy. Pro tip: The key to a great pound cake is proper aeration, so make sure to beat it thoroughly!
Add Sugar and Eggs
Now it’s time to introduce your eggs. Add them in pairs (two at a time), beating well after each addition. This technique helps to maintain the fluffiness you’re aiming for. Once combined, add the flour all at once and mix until just incorporated. Finally, stir in the vanilla extract to add a lovely depth of flavor!
Incorporate the Dry Ingredients
Next, you’ll fold the dry ingredients in seamlessly. This will create the body of your easy cream cheese pound cake. Avoid overmixing to ensure your cake remains tender and fluffy.
Pour Batter into the Pan
With your batter now ready, pour it into the prepared cake pan. This is the part where you can enjoy the deliciously thick texture—don’t worry about being too perfect; a rustic look can be charming!
Bake Until Golden
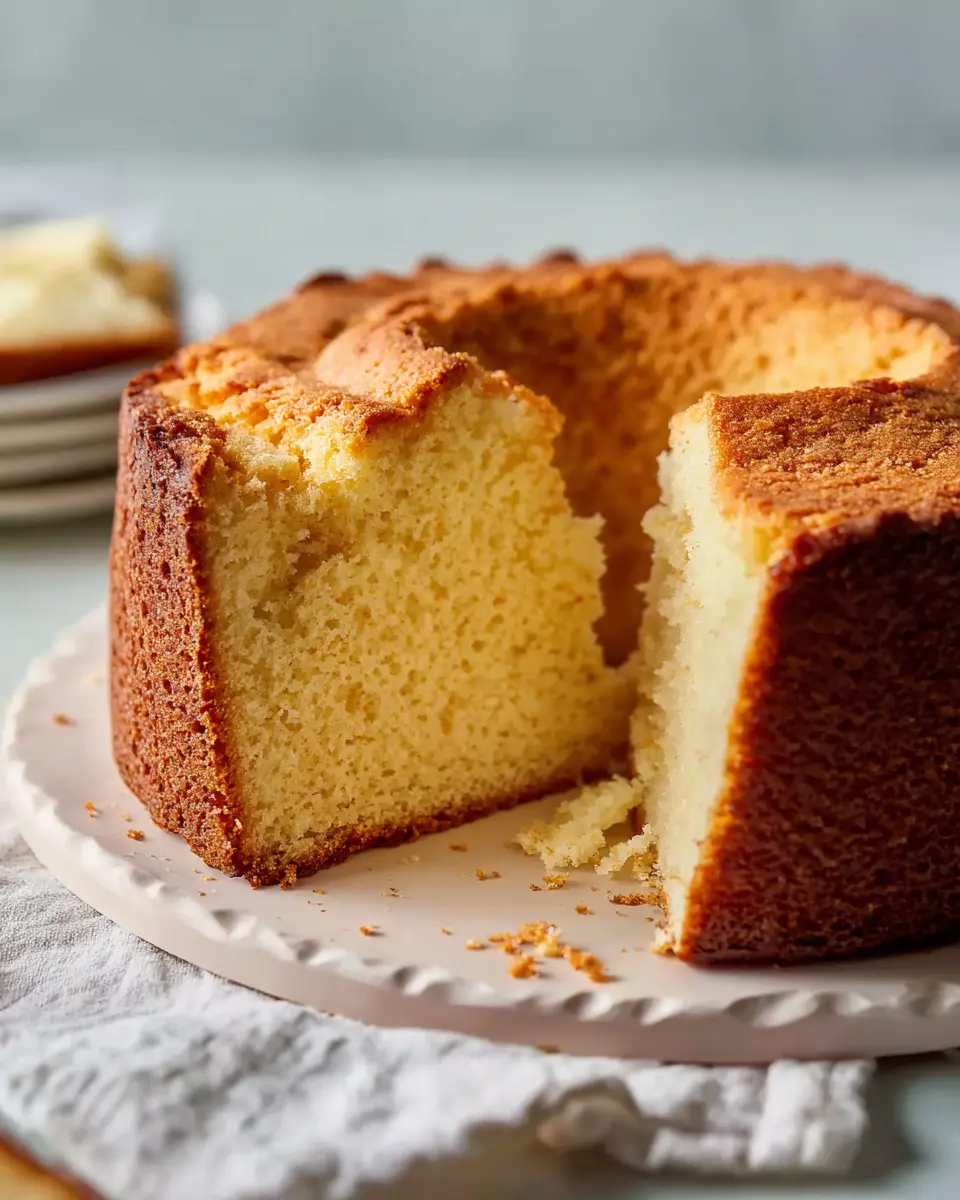
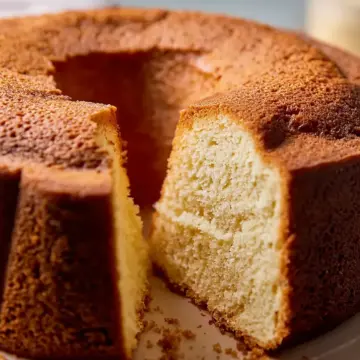
Now, pop your cake in the preheated oven. You’ll want to bake it for approximately 1 hour and 20 minutes. It’s essential to start checking for doneness around the one-hour mark. A toothpick inserted into the center should come out clean. Once it’s baked to perfection, allow it to cool in the pan for a few minutes before transferring it to a wire rack.
And just like that, your easy cream cheese pound cake is ready to enjoy! Whether served plain or with a dusting of powdered sugar, it’s sure to be a hit. Happy baking!
Variations on Easy Cream Cheese Pound Cake
Lemon Cream Cheese Pound Cake
Elevate your easy cream cheese pound cake with a zesty lemon twist! Simply add the zest of two lemons and a splash of lemon juice to the batter before baking. This brightens up the naturally rich flavor and adds a delightful tang, perfect for a summer dessert. Consider finishing your cake with a light lemon glaze for an extra pop of freshness.
Chocolate Cream Cheese Pound Cake
If you’re a chocolate lover, try transforming your easy cream cheese pound cake into a chocolate dream! Incorporate 1 cup of unsweetened cocoa powder into the dry ingredients, and you’ll have a decadently rich chocolate cake that’s every bit as moist and tender as the original. Pair it with fresh berries or a dollop of whipped cream for an indulgent treat.
These variations showcase the versatility of the classic recipe, ensuring your cake can delight any palate! For more delicious ideas, explore links on baking techniques and flavor pairings.
Cooking Tips and Notes for Easy Cream Cheese Pound Cake
Common Mistakes to Avoid
When baking your easy cream cheese pound cake, ensure the butter and cream cheese are at room temperature for a perfectly creamy mixture. Skipping this step can lead to clumps in your batter, affecting the cake's texture. Also, avoid overmixing once you add the flour; this can result in a dense cake instead of the desired lightness.
Storage Tips and Tricks
To keep your cream cheese pound cake fresh, wrap it tightly in plastic wrap before storing it in an airtight container. It’s best enjoyed within a week, but if you want to savor it longer, consider freezing slices. Just ensure they are well wrapped to prevent freezer burn. For expert tips on storing cakes, check out The Kitchn.
By following these simple tips, you'll enjoy a delicious and moist pound cake every time!
Serving Suggestions for Easy Cream Cheese Pound Cake
Simple presentation ideas
Elevate your easy cream cheese pound cake with some simple plating techniques. A light dusting of powdered sugar can transform your cake into an eye-catching treat. For added flavor and texture, serve it with fresh berries or a dollop of whipped cream. You might also consider drizzling a homemade glaze made from lemon juice and powdered sugar for a zesty finish.
Pairing it with beverages
When it comes to pairing, think about what complements the richness of your cake. A cup of freshly brewed coffee or a soothing herbal tea makes a delightful match. Alternatively, opt for a refreshing glass of iced lemon tea, which can cut through the dense sweetness. Searching for the perfect blend? Check out these combinations to see what fits your taste best!
Time Breakdown for Easy Cream Cheese Pound Cake
When it comes to making this delightful easy cream cheese pound cake, understanding the time commitment can make the process smoother. Here’s a quick breakdown:
Preparation Time
Set aside about 20 minutes for gathering ingredients, greasing the pan, and mixing everything together.
Baking Time
Once baked, this delectable cake will need approximately 1 hour and 20 minutes in the oven to achieve that perfect golden crust and moist interior.
Total Time
In total, you’re looking at around 1 hour and 40 minutes from start to finish. Perfect for an afternoon treat or special occasion!
Baking this cake is an enjoyable endeavor that rewards you with rich flavors and a satisfying texture. If you're eager to explore more baking tips or tricks, check out Food Network’s baking basics. Happy baking!
Nutritional Facts for Easy Cream Cheese Pound Cake
Calories per slice
Each slice of this easy cream cheese pound cake contains approximately 525 calories. With a total yield of 14 slices, this delightful dessert can fit into a balanced diet without too much guilt.
Key nutritional highlights
This pound cake packs a rich flavor profile. Here are some nutritional highlights to consider:
- Total Fat: 28g (Saturated Fat: 17g)
- Cholesterol: 150mg
- Sodium: 218mg
- Carbohydrates: 64g (with 1g of Dietary Fiber)
- Sugars: 43g
- Protein: 7g
- Calcium: 35mg, Iron: 2mg, Potassium: 84mg
As you enjoy your slice, remember that moderation is key. This cake is dense and can be quite rich, so pairing it with fresh fruit or a dollop of yogurt can enhance your overall experience. For more detailed nutritional breakdowns, consider visiting resources like the USDA FoodData Central.
FAQs about Easy Cream Cheese Pound Cake
Can you freeze cream cheese pound cake?
Absolutely! You can freeze your easy cream cheese pound cake without losing its delightful texture and flavor. Simply wrap the cooled cake tightly in plastic wrap and then in aluminum foil, or place it in an airtight container. It can last up to three months in the freezer. When you're ready to enjoy it, thaw it in the refrigerator overnight and let it sit at room temperature for a couple of hours before serving.
What’s the best way to store leftovers?
To keep your leftover cream cheese pound cake fresh, store it at room temperature in an airtight container for up to five days. If you prefer, you can refrigerate it, but this might change the cake's texture slightly. Just be sure to cover it well to prevent it from drying out!
How can I adapt this recipe for dietary restrictions?
If you have specific dietary needs, you can easily adjust this easy cream cheese pound cake recipe. For a gluten-free version, substitute all-purpose flour with a gluten-free blend. You can also replace the butter with a plant-based alternative for a dairy-free option. Consider using egg substitutes, like applesauce or flaxseed, if you’re looking for an egg-free cake. Remember to check your local health resources for more tips on ingredient substitutions!
Conclusion on Easy Cream Cheese Pound Cake
In summary, this easy cream cheese pound cake is a delightful treat that’s guaranteed to impress. With its rich flavor and simple preparation, you can savor each bite while sharing it with friends and family. Enjoy this decadent cake with a dusting of powdered sugar or your favorite toppings for an extra special touch!
Easy Cream Cheese Pound Cake
Equipment
- mixing bowl
- 10-inch tube pan
- Oven
Ingredients
- 1.5 cups butter
- 1 package (8 ounce) cream cheese
- 3 cups white sugar
- 6 large eggs
- 3 cups all-purpose flour
- 1 teaspoon vanilla extract
Instructions
- Gather all ingredients.
- Preheat the oven to 325 degrees F (165 degrees C). Grease and flour a 10-inch tube pan.
- Cream butter and cream cheese together in a mixing bowl until smooth. Gradually add sugar and beat until fluffy.
- Add eggs, two at a time, beating well with each addition. Add flour all at once and mix in. Mix in vanilla. Pour batter into the prepared cake pan.
- Bake in the preheated oven for 1 hour and 20 minutes, checking for doneness at 1 hour. A toothpick inserted into the center of the cake should come out clean. Remove and cool before serving.
- Serve and enjoy!
Leave a Reply