
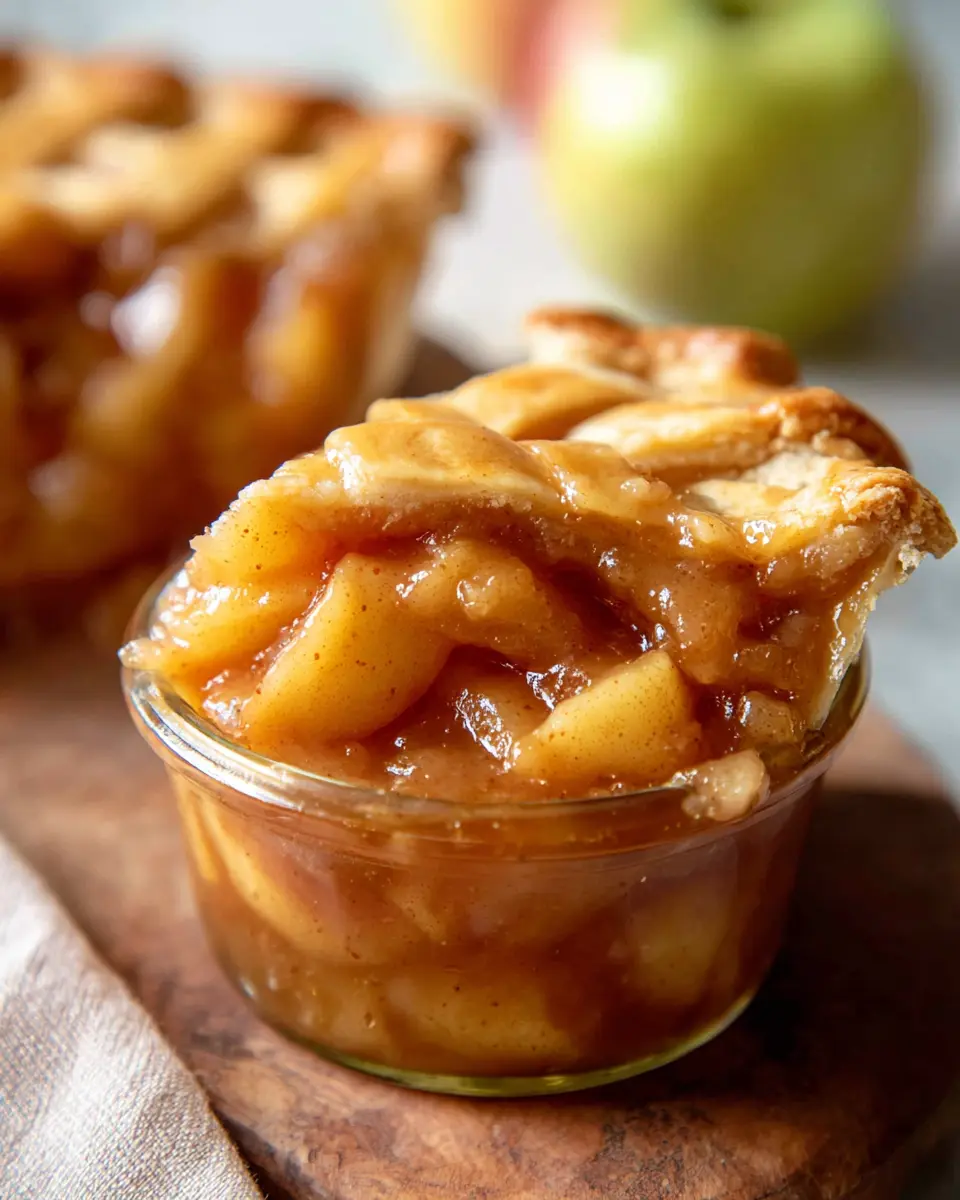
Introduction to Homemade Apple Pie Filling
When it comes to apple pie filling, you might wonder why you should choose homemade over store-bought options. The answer is simple: flavor and freshness. Homemade filling allows you to control the quality of ingredients, resulting in a vibrant, robust taste that’s hard to beat. Canned fillings often contain preservatives and unnecessary additives that can alter the genuine apple flavor.
Creating your own apple pie filling can also be a fun kitchen project, letting you tailor spice levels to suit your taste buds. Imagine biting into a slice of pie made with perfectly tender apples, just the right amount of cinnamon, and a hint of lemon. It’s a warm hug in dessert form! Plus, making it from scratch allows you to experiment with different apple varieties, like Granny Smith or Honeycrisp, ensuring that every bite is a delightful surprise.
With this recipe, you can have your filling ready in just 20 minutes, perfect for a last-minute dessert! You'll find that homemade not only elevates your baking game but can even impress friends and family. For tips on choosing the best apples, check out this guide to expand your apple knowledge!
Ingredients for Homemade Apple Pie Filling
Essential ingredients for the perfect filling
Creating a delectable apple pie filling starts with the right foundational ingredients. You'll need:
- 8 medium apples: Choose a mix of sweet and tart varieties for depth of flavor.
- ⅓ cup lemon juice: This brightens the flavors and prevents browning.
- ⅔ cup granulated sugar and ⅔ cup brown sugar: They sweeten the filling while the brown sugar adds a hint of caramel richness.
- ½ cup unsalted butter: For a rich, velvety texture.
- 2 teaspoons ground cinnamon: The warming spice that elevates apple flavor.
- 6 tablespoons cornstarch: This is your thickening agent to achieve the right consistency.
- ½ cup water: Helps create a juicy filling.
Optional ingredients for customization
Once you have your essential ingredients, feel free to get creative. Here are a few customizing options:
- Spices: Try adding ground nutmeg or allspice for extra warmth.
- Caramel sauce: A drizzle adds a luxurious touch.
- Dried fruit: Incorporate raisins or cranberries for chewiness.
- Nuts: Chopped pecans or walnuts can add a delightful crunch.
By mixing and matching these ingredients, you can create a unique apple pie filling that tantalizes your taste buds! For more apple inspiration, check out this guide on apple varieties to choose the best apples for your dessert.
Preparing Homemade Apple Pie Filling
Making your own apple pie filling is not only a rewarding experience but also ensures you have the freshest and most flavorful ingredients at your disposal. Say goodbye to canned alternatives and embrace the delightful aroma of homemade goodness. Ready to get started? Let’s break it down!
Gather and Prepare the Apples
First things first, you’ll need to gather your apples. For a well-balanced flavor, I recommend using a mix of sweet and tart varieties like Granny Smith and Honeycrisps. You'll want about 8 medium apples, which should weigh roughly 3 pounds.
- Peel, core, and slice the apples into thin, even pieces. This ensures they cook uniformly, allowing them to become perfectly tender without losing their shape.
- To prevent browning, toss them in ⅓ cup of lemon juice right away—this not only keeps them vibrant but also adds a natural tartness that enhances your filling.
Mix with Lemon Juice and Spices
Once your apples are prepped, it’s time to mix them with some delicious flavors.
- In a large mixing bowl, combine the sliced apples with ⅔ cup granulated sugar, ⅔ cup brown sugar, and 2 teaspoons ground cinnamon.
- The sugars will draw out the natural juices from the apples, creating a sweet and syrupy filling during cooking. Use your hands to toss everything gently, ensuring each slice is evenly coated with the sugar and spices.
Cook the Apples in Butter
Now, let’s bring that cozy warmth into your kitchen by cooking the apples!
- Melt ½ cup of unsalted butter in a large skillet over medium-high heat. The aroma of butter sizzling is one of life’s simple pleasures.
- Add the apple mixture to the skillet and cook, stirring regularly for about 2 minutes until the sugars dissolve and the mixture begins to simmer.
- Then, cover the skillet, reduce the heat to medium-low, and let it cook for approximately 7 minutes. This slow cooking helps the apples soften beautifully while releasing their juices.
Thicken the Mixture with Cornstarch
After the apples have cooked down, it’s time to thicken the filling.
- In a separate medium bowl, whisk together 6 tablespoons of cornstarch with ½ cup of water until smooth.
- Pour this mixture into the skillet and continue stirring for 1 to 2 minutes. You’ll notice the filling hugely thickening as it cooks—this is what gives your pie filling that perfect texture.
Cool and Store for Later Use
Finally, allow your apple pie filling to cool completely before storage.
- Transfer it to an airtight container to keep it fresh. This filling can be stored in the refrigerator for up to 2 days, so feel free to prepare it ahead of time!
- Whether you’re planning on making a pie from scratch or just need a quick topping for ice cream, your homemade apple pie filling will be ready to shine.
Grab your ingredients, and let’s make some magic happen in your kitchen! For more tips on pie crusts and various apple varieties, check out resources from sites like Bon Appétit and The Kitchn. Happy baking!
Variations on Homemade Apple Pie Filling
Spice it up with nutmeg
For an unexpected twist in your apple pie filling, consider incorporating nutmeg. This dominant spice pairs beautifully with cinnamon and adds a warm, aromatic dimension that elevates your filling to new heights. Just a pinch can make all the difference, transforming a classic recipe into something special. You might find that it becomes your new go-to secret ingredient!
Add a crunchy texture with nuts
If you crave a bit of crunch, think about adding chopped nuts to your apple pie filling. Walnuts or pecans not only contribute delightful texture but also enhance the flavor profile. Their earthy taste balances the sweetness of the apples, making each bite uniquely satisfying. Just fold in your favorite nuts during the last stages of cooking for a delicious addition to your homemade filling!
Exploring variations like these allows you to personalize your apple pie experience and impress your friends. What combinations will you try next?
Cooking Tips and Notes for Homemade Apple Pie Filling
Time-saving Tips for Meal Prep
Preparing your apple pie filling ahead of time can make your baking day a breeze! Here are some easy methods to save time:
- Batch Cook: Make a larger batch of filling and store it in the refrigerator for up to two days. This means less stress when you’re ready to bake!
- Prep Ingredients: Chop and measure out your ingredients before you start cooking. Having everything ready will speed up the process.
How to Prevent Browning of Apples
To keep your apples looking fresh and vibrant, preventing them from browning is crucial. Consider these methods:
- Use Lemon Juice: Toss your sliced apples in lemon juice right after cutting. The acidity helps slow down oxidation and keep them looking bright.
- Soak in Salt Water: For a more extensive soak, you can use a mixture of salt and water. Just remember to rinse before adding to your filling!
Using these tips will elevate your homemade apple pie filling and ensure a delicious dessert that's worthy of any gathering!
Serving Suggestions for Homemade Apple Pie Filling
Classic Pie Crust Usage
The most delightful way to enjoy your apple pie filling is, of course, nestled within a flaky pie crust. Whether you opt for a store-bought crust or make your own, there's nothing better than a freshly baked apple pie. Serve it warm with a scoop of vanilla ice cream to elevate the experience. The contrast of hot pie and cold ice cream is simply irresistible!
Creative Desserts to Use the Filling
Don’t limit your homemade apple pie filling to just pies!
- Crisps and Crumbles: Use the filling as a base for an apple crisp topped with buttery oatmeal.
- Pancakes: Drizzle the warm filling over pancakes for a delightful breakfast twist.
- Danishes: Stuff store-bought pastry dough with the filling and bake for tasty pastries.
The possibilities are endless! Explore more about versatile apple recipes on Food Network.
Time Breakdown for Homemade Apple Pie Filling
Preparation Time
Getting started with your apple pie filling takes just about 10 minutes. You’ll peel, core, and slice the apples, along with mixing in the sugars and spices. It's a simple, no-fuss process, perfect for a relaxing afternoon in the kitchen!
Cooking Time
The actual cooking time is quick too—only 10 minutes! This is just enough time for the apples to soften and the flavors to merge wonderfully.
Total Time
In total, you're looking at about 20 minutes from start to finish. Whether you're making this delicious filling ahead of a gathering or right before dessert, it’s super efficient! For more tips on preparing homemade fillings, check out resources like Epicurious for added inspiration.
Nutritional Facts for Homemade Apple Pie Filling
When indulging in a warm slice of homemade apple pie, it's essential to understand what you're enjoying. Here's a breakdown of the nutritional facts for the apple pie filling made from scratch:
Calories
Each serving of this delectable apple pie filling contains approximately 475 calories. This makes it a slightly indulgent treat but worth every bite!
Sugar Content
With a total sugar content of 71 grams per serving, it’s a sweet delight that's hard to resist. The combination of granulated and brown sugar harmonizes beautifully with the tang of the apples.
Fiber Content
You'll also benefit from 6 grams of fiber in each serving, courtesy of the apples. Fiber is essential for digestion and adds nutritional value to your dessert, making it a slightly guilt-free option.
By preparing this homemade apple pie filling, you not only get a delicious dessert but also a treat that's full of flavor and nutrients. If you're looking for more tips on baking and healthy eating, be sure to check out resources like Harvard Health or Nutrition.gov.
FAQ about Homemade Apple Pie Filling
Can I use other fruits for the filling?
Absolutely! While this recipe focuses on apples for that classic taste, you can experiment with various fruits like pears, peaches, or berries. Just remember that different fruits may require adjustments to sugar and spice levels, so taste as you go!
How long can I store homemade apple pie filling?
Homemade apple pie filling can be stored in an airtight container in the refrigerator for up to two days. If you want to keep it longer, consider freezing it in freezer-safe bags. It can last up to three months in the freezer. Just thaw it overnight in the fridge before use.
What's the best type of apple to use?
When it comes to making apple pie filling, tart apples, like Granny Smith or Honeycrisp, are your best bet. They hold their shape during cooking and balance the sweetness perfectly. You can even mix varieties for added depth in flavor!
For more tips on selecting apples and storage ideas, check out this informative guide, which covers everything you need to know about apples!
Conclusion on Homemade Apple Pie Filling
Why Homemade Apple Pie Filling is Worth the Effort
Crafting your own apple pie filling elevates your baking game by ensuring the freshest flavors and ingredients. It’s not just about taste; it’s about the experience. Imagine the warmth of sweetened spices filling your kitchen while you prep. Plus, making your own allows you to customize the sweetness and spice levels exactly to your liking. If you're a fan of this classic dessert, embracing homemade filling is truly worth it!
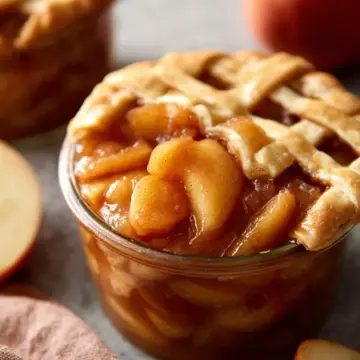
Apple Pie Filling
Equipment
- large pot
Ingredients
- 8 medium apples, peeled, cored, and sliced approximately 3 pounds or 1.35kg
- ⅓ cup lemon juice (80mL)
- ⅔ cup granulated sugar (133g)
- ⅔ cup brown sugar, light or dark (140g)
- ½ cup unsalted butter (113g)
- 2 teaspoons ground cinnamon
- 6 tablespoons cornstarch
- ½ cup water (120mL)
Instructions
- In a large mixing bowl, toss the apples with the lemon juice.
- Add the granulated sugar, brown sugar, and cinnamon, then toss to combine.
- In a large skillet, melt the butter over medium-high heat. Add the apples and cook, stirring, until the sugar dissolves and the mixture begins to simmer, about 2 minutes.
- Cover, reduce the heat to medium-low, and cook until the apples soften and release most of their juices, about 7 minutes.
- In a medium bowl, whisk together the cornstarch and water. Add it to the apples and continue cooking, stirring frequently, for 1 to 2 minutes until the mixture has thickened.
- Remove from the heat and let cool completely. Store in an airtight container in the refrigerator for up to 2 days.


Leave a Reply